Dragon Age: Origins Walkthrough - Taking Back Denerim
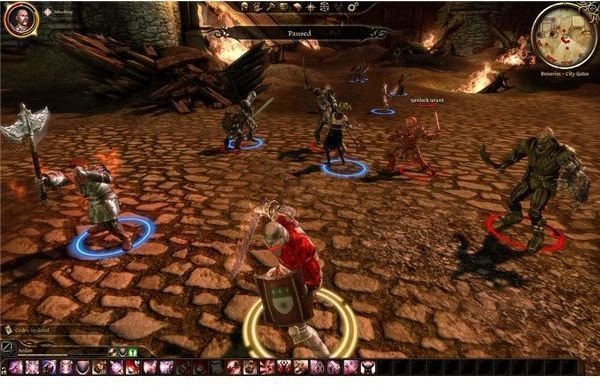
Denerim City Gates
You’ll be fighting solo to get into the city, although your entire party joins in the attack along with Riordian and some soldiers. You just can’t control them. There’s no real strategy to this one. There are more darkspawn weaklings. Normal ogres will spawn from the main gate while grunts while spawn from all sides.
You can basically just run around and follow your allies into battle. After a few waves Riordian should stop and move out to the middle of the area. You can talk to him to start up the final battle. You will also pick your final party. Note that it doesn’t have to include Loghain or Alistair. If you haven’t leveled them up, then leave them behind. You definitely need to drag a rogue along though. It won’t help you during a lot of the fights, but you will really need one around for the fight with the archdemon. I suggest that you take the usual group with you. I went up with Sten, Leliana, and Morrigan along with my tank-build.
Your party members will say goodbye and send you off for the final assault. You can also pick a leader for the second group. Who you pick doesn’t seem to really matter though, except for the fact that it means you will definitely have control of them when it’s time for the second groups battle.
When you’re ready, charge into Denerim to start retaking the city.
Denerim Market District
There are two darkspawn generals that we should kill before going after the archdemon. One is in the Alienage and the other is in the Market District. We need to clear the Market District first to break open the city.

I suggest you go ahead and call up either the dwarves or the Redcliffe soldiers. There will be a surprising amount of enemies around, so having a few more distractions around will be quite nice. I’ve also seen Eamon’s men down an ogre, so they aren’t worthless either. Advance into the little neighborhood to the left and just try to rush the enemies. There should be several emissaries and a few ogres. Your warriors need to pick an emissary while your mage hopefully does something to stop the ogres.
There’s not much else to do than grind though. Kill the mages and rush forward to the next batch of enemies. They should be scattered around the darkspawn general. He’s actually not that bad. He’s just a really tough hurlock alpha type. I’d class him as about as hard as a revenant. You just need to hang on and grind him down with your tank and warrior. You should also have some other warriors with you to help, so hopefully it won’t be too bad.
Make sure that you check his body. It should have the helm, Corruption, on it. This helmet offers an absurd amount of defense against spirit magic. This is the main attack of the archdemon, so you’ll probably want to pick it up along with some good health potions on his body. You can advance out through the exit to the alienage for our next stop.
Denerim Elven Alienage
I suggest you call up the dwarves for this one. Make sure that you stand by the entrance until a few appear though. Allies don’t tend too spawn well for the real battle if you don’t gather them early. Run through the alienage. You should find Shianni here along with a few elves. You can demand that they serve in the defense force. They aren’t too much help, but if you have no attachment to them you might as well call them up to the gate.
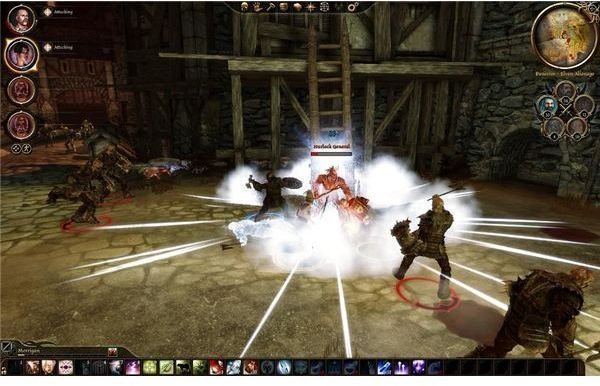
Get to the gate and take up position. Try to freeze the ogre if you can. He has to tear down the wooden gate. If you can delay him, then the elves can get a few more shots off. It will also let you use a spell like blizzard to wear away at the waiting darkspawn. He’ll eventually tear the gate down though. When that happens, charge out and try to have at least have your group attack the general. One should stay free to disable the emissaries. Hopefully the dwarves and elves will be able to keep the spare darkspawn off of your backs.
The general himself should fall pretty easily if you can surround him. Just be careful of new darkspawn and ogres moving up the from the gate. You should be able to bottleneck them at the bridge and hold your ground just fine. Loot the bodies and make sure that you get the mana potions from the general’s body.
Go out the gate and head toward the Palace.
This post is part of the series: Dragon Age: Origins Walkthrough - The Final Battle
We’re just about done with the darkspawn. We’ll need to regroup at Redcliffe, break the siege on Redcliffe castle, and then go to Denerim to kill the Archdemon and free the city from the darkspawns’ grasp. If you need help killing the Archdemon, then look here.
- Dragon Age: Origins Walkthrough - The Siege of Redcliffe
- Dragon Age: Origins Walkthrough - The Final Battle - Push to the Palace
- Dragon Age: Origins Walkthrough - The Final Battle - Taking the Palace
- Dragon Age: Origins Walkthrough - The Final Battle - Fort Drakon
- Dragon Age: Origins Walkthrough - The Final Battle - Killing the Archdemon